
The John Cena Challenge is the one attack in the WWE: Search for Cena season that people actually get stuck on, and it is stuck for an unusual reason. The army is not the problem. You do not build it, you cannot improve it, and everyone who attacks Cena's base walks in with the same units. What separates a two-star from a three-star is entirely where those units go and in what order.
That makes this a puzzle rather than a skill test, which is good news: puzzles have solutions you can memorise. This guide covers how to unlock the challenge, what each WWE troop is actually for, the deployment order that reliably triples, and how to cut your time down once the star count stops being the hard part.
You Need a Challenger Contract First
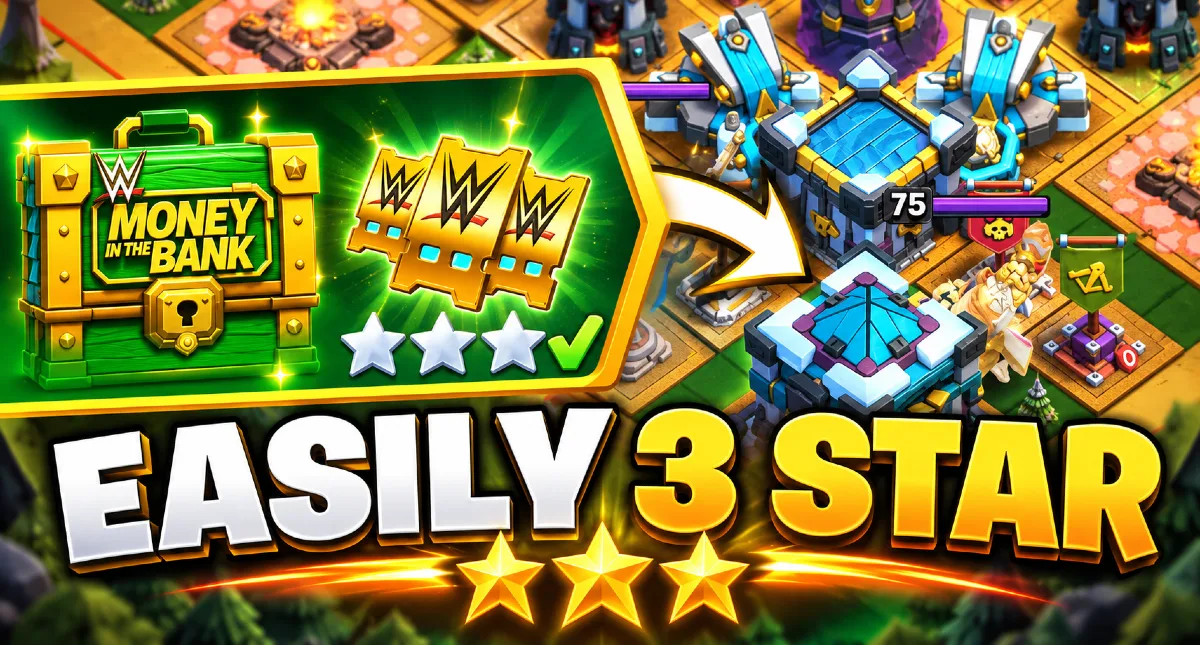
Cena's base is hidden. You cannot search for it, and no amount of raiding will surface it on its own. Access comes from a Challenger Contract, which drops from WWE Chests — the chests tied to the Money in the Bank Rush and WWE Equipment Blast events running through the season.
One Contract buys you 24 hours of access, and this is the detail that costs people their attempt. The clock is attached to the Contract, not to the event. Burning one on a night you have twenty minutes to spare means the window closes while you sleep. Open the Contract when you have a clear hour, not when it lands in your inventory.
Inside that window you can attack the base repeatedly, which matters more than it sounds. The first run is reconnaissance. Nobody triples a base they have never seen.
The Four WWE Troops, and What Each One Is Really For
The season introduced four temporary troops, and the challenge army is built from them. Their housing costs tell you the intended pecking order:
| Troop | Housing | What makes it different |
|---|---|---|
| Yeti Undertaker | 80 | Targets defences. Deals 5× damage to walls, and rises twice from defeat with four Skeletons of Darkness each time. Grows up to 50% healthier and 60% angrier as the rest of your army dies around it. |
| K.A.N.E | 75 | A P.E.K.K.A-class heavy. Built to walk a straight line through defences rather than around them. |
| Giant Giant | 50 | Roughly ten times a normal Giant's hitpoints and damage, and it ignores Spring Traps completely. Gets angrier below half health. |
| Yeeter | 45 | Arrives with four Tribal Tag Team members alongside it, then fights on with its own spear once they are gone. |
Two of these change how you should think about the attack.
The Yeti Undertaker's double revival means it is not a unit you protect — it is a unit you spend. It gets stronger as your army thins out, so the worst thing you can do is hold it back for a clean moment that never arrives. Send it early and let it die forward.
The Giant Giant ignoring Spring Traps removes the single most common way a heavy push gets deleted on a compartment base. You can send it down a lane that would eat a normal Giant without thinking about it.
The Yeeter is the cheapest unit in the lineup and comes with four bodies attached, which makes it the natural trap-springer. That is exactly how the opening move uses it.
What Is Defending Cena's Base
The layout is built to punish a single fat push into the middle. The pieces that decide your attack are:
- Inferno Towers — the reason you cannot just walk K.A.N.E into the core unsupported.
- A Tornado Trap sitting near them, which will stall a committed push long enough for everything else to kill it.
- Scattershots and Eagle Artillery punishing clumped troops.
- Defending Heroes, which are the main reason a Freeze is worth saving.
- A Clan Castle, plus the usual Archer Towers, Dark Elixir Drill and Town Hall as positional landmarks.
The Tornado Trap is the crux. Almost every failed attempt is the same story: a strong push goes in, the Tornado holds it in place, and the Infernos and Scattershots clean up a stationary army. Spring the Tornado before you commit and the base loses most of its teeth.
If that sounds familiar, it should — it is the same compartment-and-stall logic that good war bases use against you every week, covered in our war base design fundamentals guide. Cena's base is simply a very polished version of it.
The Three-Star Attack, Step by Step
This is the sequence to learn first. It is not the fastest, but it is the most forgiving, and you should have three stars before you start chasing a time.
- Spring the Tornado with a single Yeeter. Drop one Yeeter just above the Inferno Towers, on its own, and let it trigger the Tornado Trap. This is the whole reason the attack works. You are spending your cheapest unit to delete the base's best answer to your expensive ones.
- Open both flanks. With the Tornado gone, put your remaining Yeeters into the east and west corners. They pull defensive fire apart instead of letting the base concentrate it, and their Tag Team members chew through outer buildings while the heavies commit.
- Send K.A.N.E in at the top. Drop K.A.N.E at the top corner near the Dark Elixir Drill. It has the health to absorb what the flanks do not distract.
- Follow with the Yeti Undertaker and Giant Giant. Place them either side of K.A.N.E, near the Archer Towers. Rage over this group as it moves in — this is the push that opens the core, and Rage is worth more here than saved for later.
- Bring the Giant Giant onto the Town Hall. Send it in at the very bottom, onto the Town Hall, with a Rage on top of it. Spring Trap immunity means you can take the direct line without hedging.
- Freeze the Heroes, not the buildings. When the defending Heroes engage, Freeze them. Buildings will fall on their own; Heroes are what turn a winning push into a stall.
- Heal reactively, near the Clan Castle. Drop the Heal where your K.A.N.E and Giant Giant are grinding through the left side, around the Clan Castle. Held spells score nothing — if you are unsure, use it.
Two stars usually arrive somewhere around step five. The third comes from the cleanup in steps six and seven, which is precisely where people lose it by saving spells for a moment that never comes.
Cutting Your Time Down
Because this challenge carries a global leaderboard, three stars is the entry fee rather than the goal. Published three-star runs land roughly between 52 seconds and 2 minutes 15, and the gap between those two is not troop skill — it is overlap.
A safe clear deploys in phases and waits to see what happens. A fast clear puts almost everything down in the opening seconds and accepts that some of it will die badly. Three things account for most of the saved time:
- Deploy the flanks and the heavies together rather than waiting for the Yeeters to make progress first.
- Rage earlier than feels right. A Rage spent while troops are still walking is worth more than one spent perfectly on a group already in range.
- Stop reacting. Once you know the base, the Freeze goes down on a count, not on a cue. Watching costs seconds.
Do this in the right order: get the reliable triple first, then run it again and shave. You have 24 hours and unlimited attempts inside the window, and a failed speed run costs you nothing but a restart.
Mistakes That Cost People the Third Star
- Pushing before the Tornado is gone. The most common failure by a wide margin. One cheap unit first, every time.
- Holding spells. Rage, Freeze and Heal are worth zero at the end of the timer. Spend them.
- Protecting the Yeti Undertaker. It revives twice and grows stronger as your army dies. Treating it as fragile wastes its best trait.
- Freezing defences instead of Heroes. Defences are on a timer you are already beating. Heroes are not.
- Opening the Contract with no time to play. The 24 hours run whether you attack or not.
- Stopping at two stars. Two stars secures the decoration, so it is easy to walk away — but the leaderboard only reads triples.
What You Actually Get
The rewards split at two stars:
- Two stars earns the Cody's Callout decoration and 1,000 XP. This is the floor, and it is the part most players are chasing.
- Three stars, quickly puts you on the global leaderboard, where Supercell has said the fastest clears take special prizes.
Worth knowing before you decide how much effort to spend: the WWE hero skins tied to this season — Cody Rhodes as the Barbarian King, Alexa Bliss as the Archer Queen, the Undertaker as the Grand Warden, IYO SKY as the Royal Champion, Kane as the Dragon Duke, and Jey Uso as the Minion Prince — leave the game when the season ends on 1 October 2026. Supercell has been unusually blunt that there are no re-runs.
Quick Answers
Do I need a specific Town Hall level?
No. The challenge supplies the army, so your own village progression does not gate it. What gates you is holding a Challenger Contract. Your home village only matters after the event, when you are back to picking Town Hall base layouts for your own defence.
Can I change the army?
No. Everyone attacks with the same units, which is why deployment order is the only variable that matters.
Can I retry if I fail?
Yes, as many times as you like inside the Contract's 24-hour window. Use the first run to look at the base rather than to win.
How long does the event run?
WWE: Search for Cena runs from 1 September to 30 September 2026, and ends on 1 October.
Is two stars enough?
For the Cody's Callout decoration, yes. For the leaderboard, no — that ranks three-star clears by time.
The Short Version
Spend a Yeeter on the Tornado Trap before you commit anything expensive. Open both flanks so the base cannot concentrate its fire. Push K.A.N.E, the Yeti Undertaker and the Giant Giant through the top with Rage behind them, take the Town Hall from the bottom, and Freeze the Heroes rather than the buildings. Spend every spell before the clock does it for you.
Get that working once and the triple is repeatable. After that it is just a question of how much of it you are willing to do at the same time.